Few weeks ago I was scrolling LinkedIn and I bumped into a beautiful rendering featuring an acoustic modal analysis
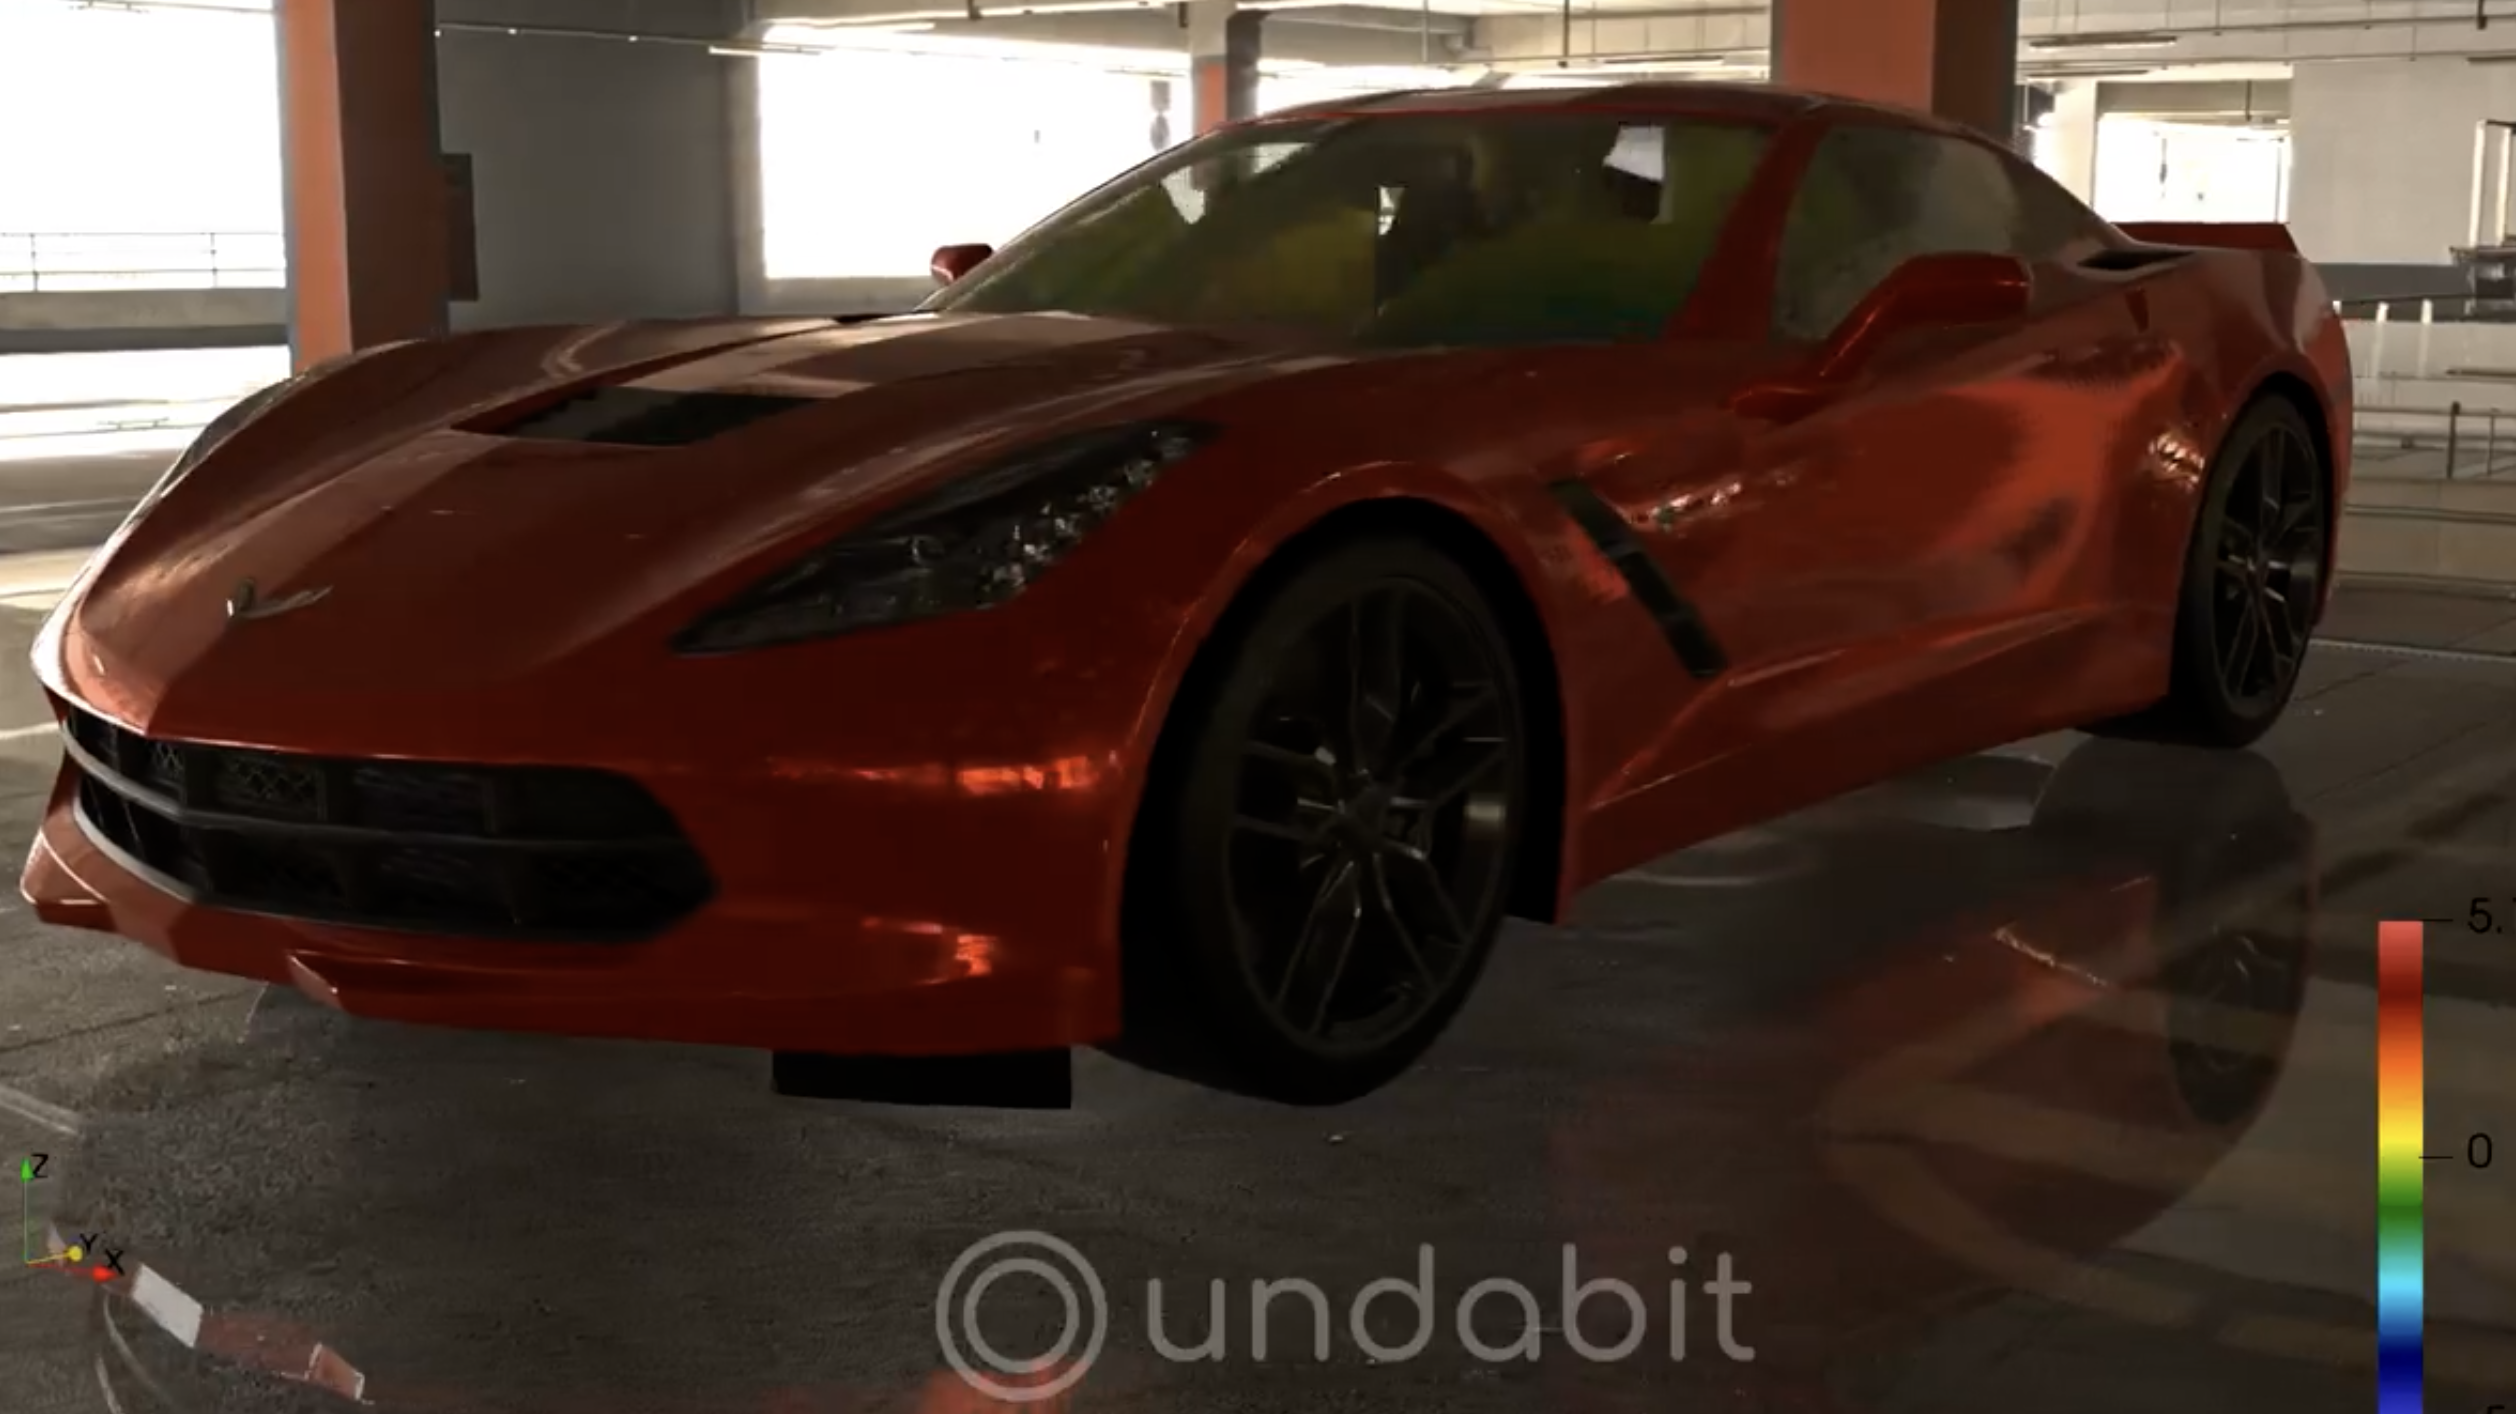
Undabit acustic analysis
Here is the original post by Undabit, in which the founder claimed that he used Paraview to render the animation 😱. This post was so successful that (yesterday) VTK released a blog post covering this awesome work and turned it into a high-level tutorial. So that’s where I started.
First attempt
I use Paraview 5.12, and in less than one hour I could go from this
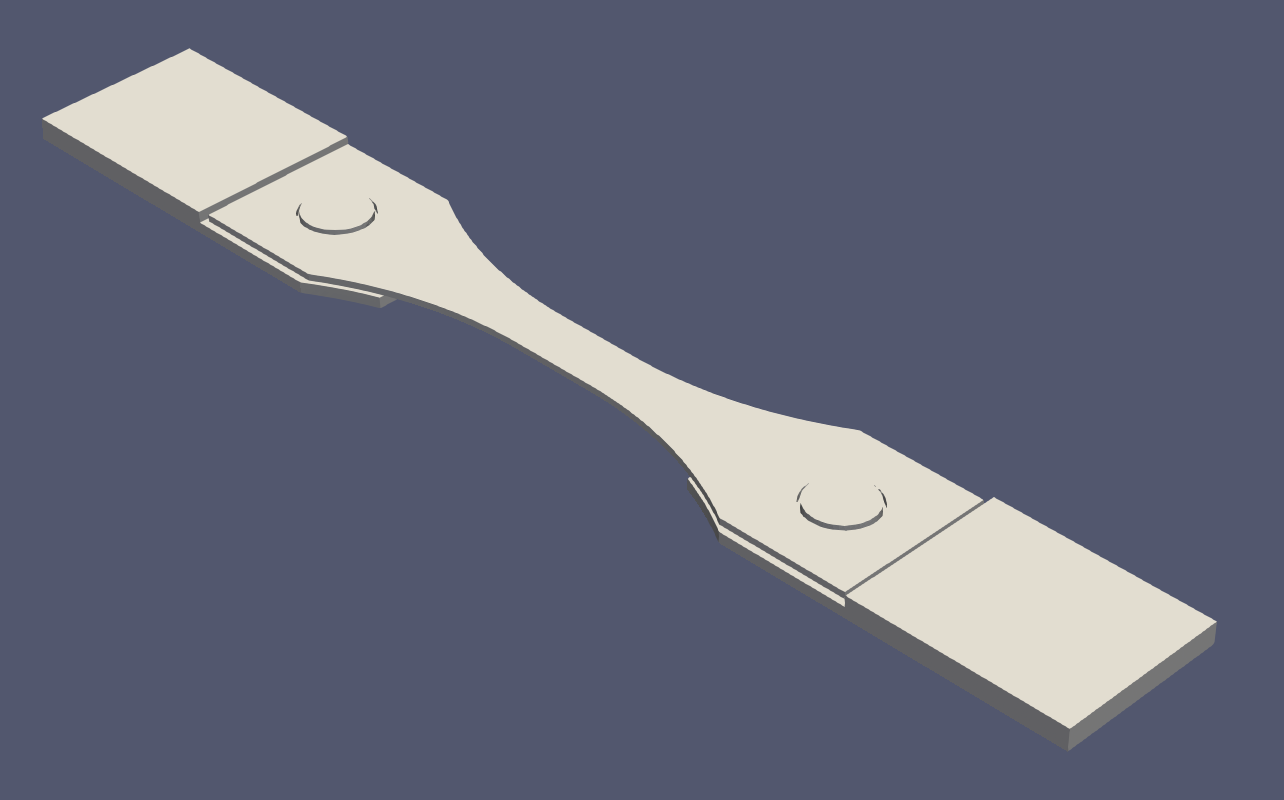
Basic remaindering of aluminum specimen rendering
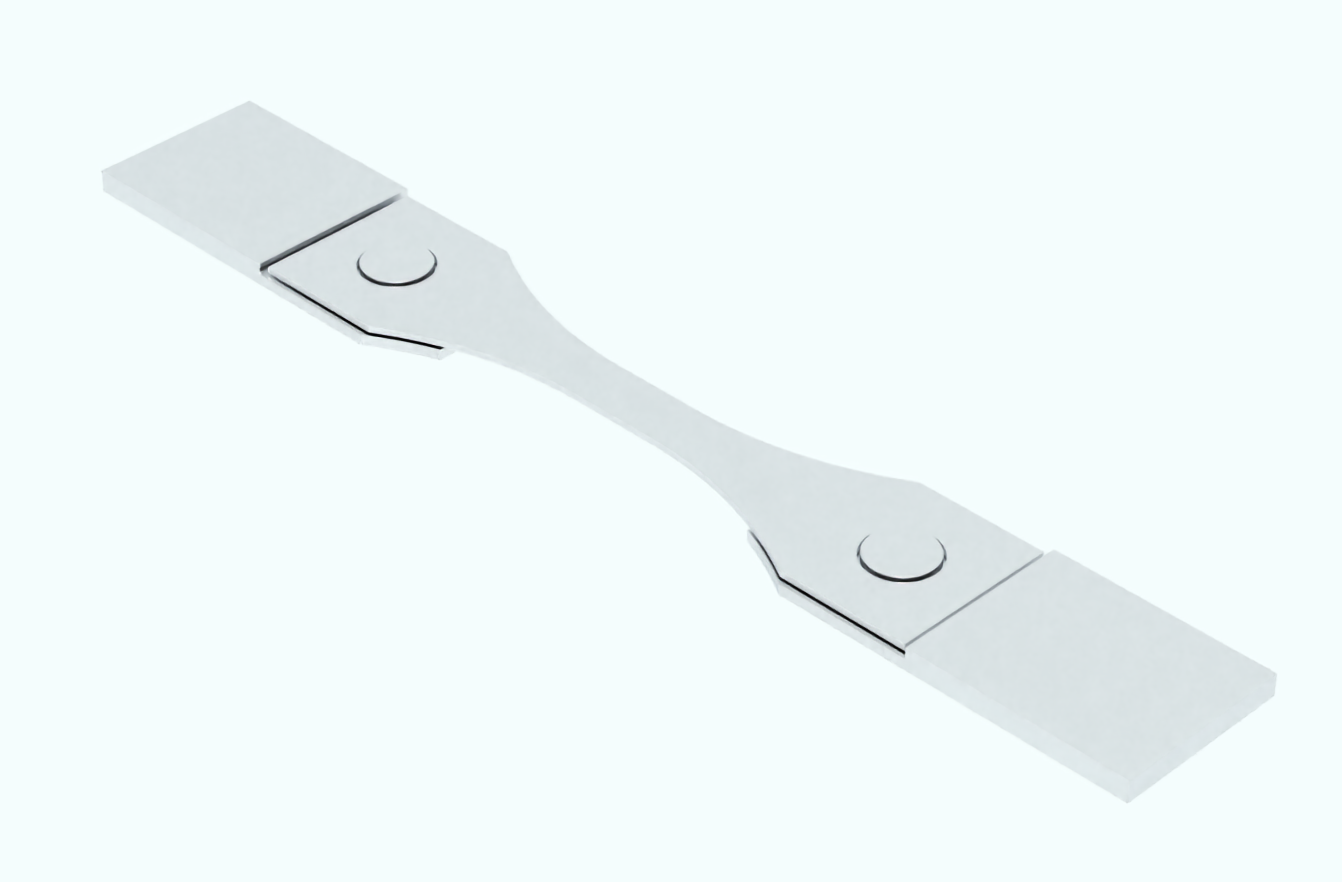
PBC remaindering of aluminum specimen rendering
All I needed to do was to import my data in Paraview and:
- Turn on OSPRay ray-traced rendering with path tracer. This runs on my CPU, which is not great, however I think ti supports some GPUs (like Intel and/or NVidia).
- Select the physically based rendering and a suitable texture. There are dozens of textures to serve the most common engineering applications (metals, wood, plastics, water, grass and many more).
- Adjust camera view, adjust lighting and rump up the “samples per pixels” to 8. This makes the surfaces smooth, but makes the rendering really expensive. After you apply this setting the viewport is not longer interactive because of that.
My conclusion here is that once you know where to click, everything is easy - and possible! I used to pass all my data to Blender to achieve a similar rendering, but that workflow would take me days. Instead this is a much better experience and the results are extremely promising.